Install Cody for JetBrains
Learn how to use Cody and its features with the JetBrains IntelliJ editor.
Cody support for the JetBrains editor extension is in the Beta stage.
The Cody extension by Sourcegraph enhances your coding experience in your IDE by providing intelligent code suggestions, context-aware completions, and advanced code analysis. This guide will walk you through the steps to install and set up Cody within your JetBrains environment.

Prerequisites
- You have the latest version of JetBrains IDEs installed
- You have a Free or Pro account via Sourcegraph.com or a Sourcegraph Enterprise account
- Cody is compatible with the following JetBrains IDEs:
Install the JetBrains IntelliJ Cody extension
Follow these steps to install the Cody plugin:
- Open JetBrains IntelliJ editor on your local machine
- Open Settings (Mac:
⌘+,Windows:Ctrl+Alt+S) and select Plugins - Type and search Sourcegraph Cody + Code Search extension and click Install
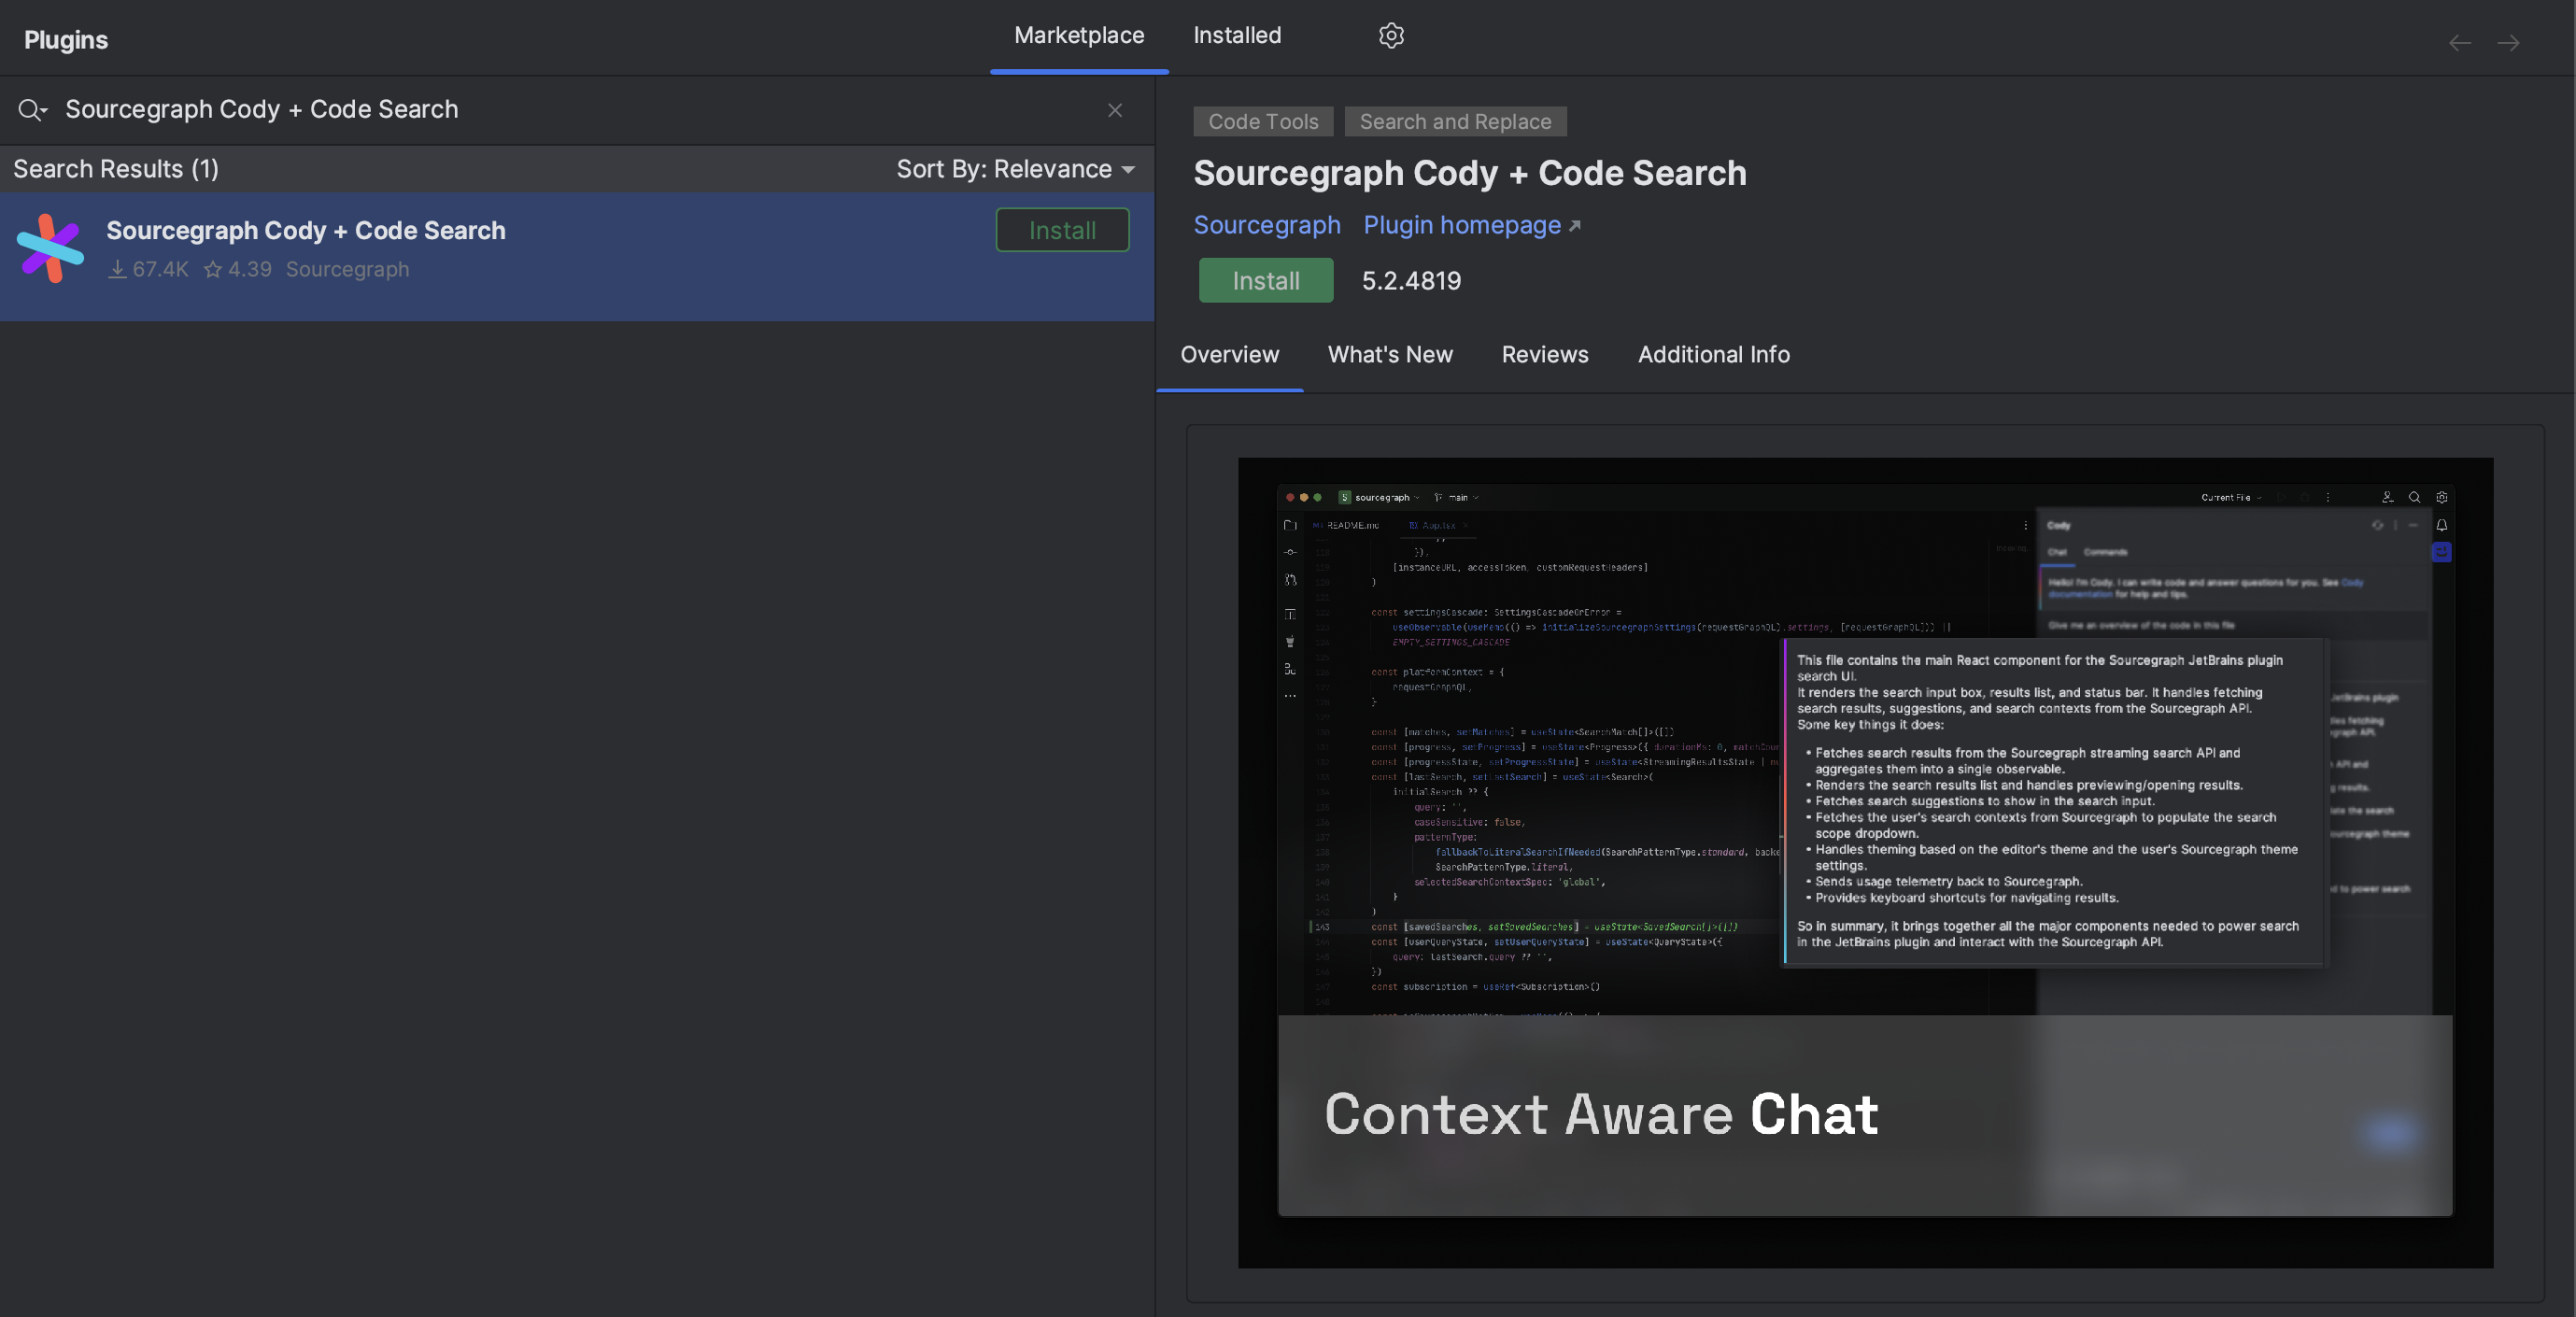
Alternatively, you can Download and install the extension from the Jetbrains marketplace.
Connect the extension to Sourcegraph
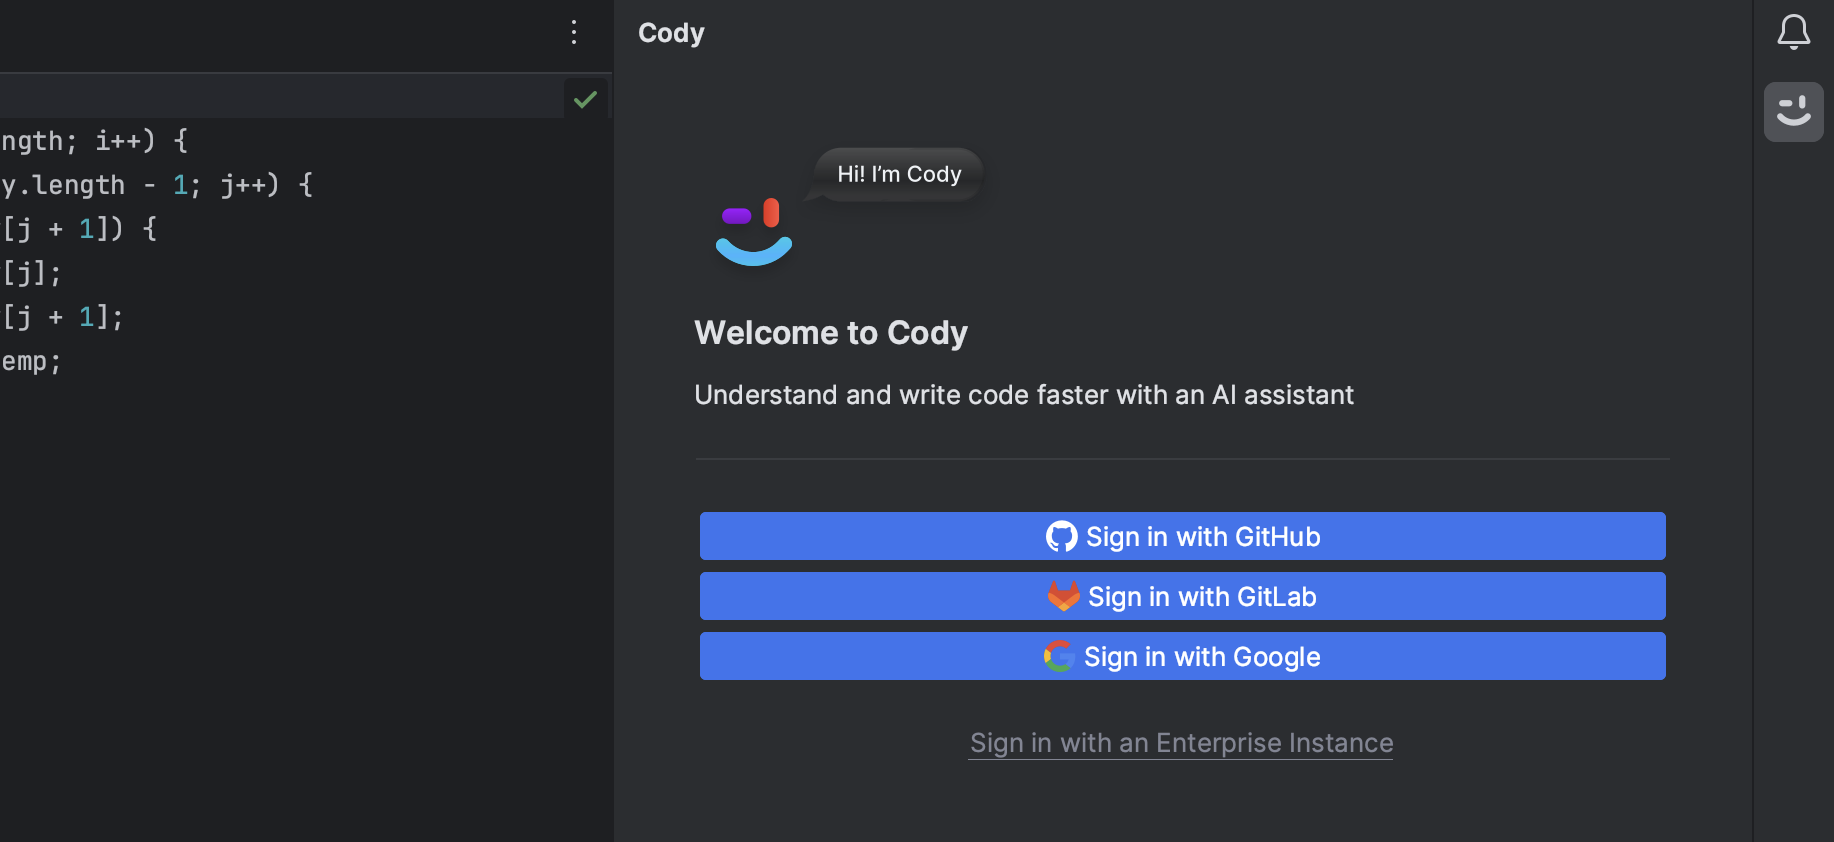
After a successful installation, Cody's icon appears in the sidebar. Clicking it prompts you to start with codehosts like GitHub, GitLab, and your Google login. This allows Cody to access your Sourcegraph.com account.
Alternatively, you can also click the Sign in with an Enterprise Instance to connect to your enterprise instance.
For Sourcegraph Enterprise users
To connect the extension with your Enterprise instance,
- Log in to your Sourcegraph instance
- Go to Settings > Access tokens (
https://<your-instance>.sourcegraph.com/users/<your-username>/settings/tokens) - From here, click Generate new token
- Next, go back to Cody Settings... in the IntelliJ editor
- Click the plus icon (+) under Authentication and then select Log In with Token to Sourcegraph Enterprise
- Finally, paste your newly created access token and instance URL in the respective fields and click Add Account to complete the process
For Sourcegraph.com users
Alternatively, you can click Log In to Sourcegraph to authenticate the IntelliJ extension with your Sourcegraph.com account.
Verifying the installation
Once Cody is connected successfully to your Sourcegraph instance, click the Cody icon from the sidebar again, and a panel will open. To verify that the Cody extension has been successfully installed and is working as expected, let's create an autocomplete suggestion.
Cody provides intelligent code suggestions and context-aware autocompletions for numerous programming languages like JavaScript, Python, TypeScript, Go, etc.
- Create a new file in IntelliJ, for example,
code.js - Next, type the following algorithm function to sort an array of numbers
function bubbleSort(array)- As you start typing, Cody will automatically provide suggestions and context-aware completions based on your coding patterns and the code context
- These autocomplete suggestions appear as grayed text. To accept the suggestion, press the
Tabkey
Autocomplete
Autocomplete suggestions appear as inlay suggestions and are enabled by default in your JetBrains IntelliJ editor. With this setting, there is a list of programming languages supported and enabled by default.
To manually configure the Autocomplete feature,
- Go to the Cody Settings... from the Cody icon in the sidebar
- Next, click the Sourcegraph & Cody dropdown and select Cody
- The Autocomplete settings will appear with the list of Enabled Languages
In addition, Autocomplete suggestions use the same color as inline parameter hints according to your configured editor theme. However, you can optionally enable the Custom color for completions checkbox to customize the color of your choice.
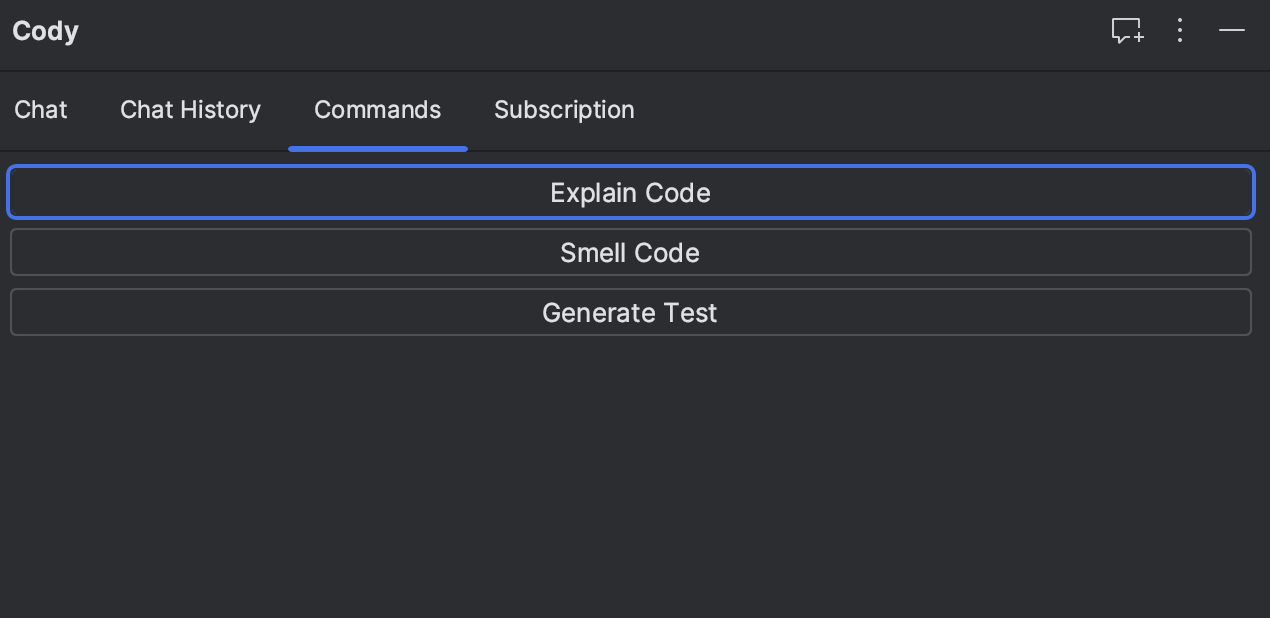
Commands
Cody with JetBrains offers quick, ready-to-use Commands for common actions to write, describe, fix, and smell code. These allow you to run predefined actions with smart context-fetching anywhere in the editor, like:
- Explain Selected Code
- Generate Unit Test
- Smell Code
LLM Selection
You get a choice of LLM selection with Cody chat in JetBrains. Cody Free users get chat responses supported by Claude 2.0. Cody Pro users can choose the LLM from a drop-down list they'd like Cody to use for chats. For Enterprise users, the administrator determines the LLM, and cannot be changed within the editor.
Chat history
Next to the chat tab, there is a chat history tab that displays all the previous chat interactions with Cody. You can revisit any of the previous chat interactions to get the context of the conversation.
Context fetching mechanism
JetBrains users on the Free or Pro plan can leverage local search as the primary context source for Cody chat. Local or remote embeddings will no longer be produced or used as a context source.
Enterprise users can leverage the full power of the Sourcegraph search engine as the primary context provider to Cody.
Context scope
JetBrains users on the Free or Pro plan get single-repo support in chat and can use one repo for context fetching. Enterprise users get multi-repo support in chat and can explicitly specify up to 10 additional repos they would like Cody to use for context.
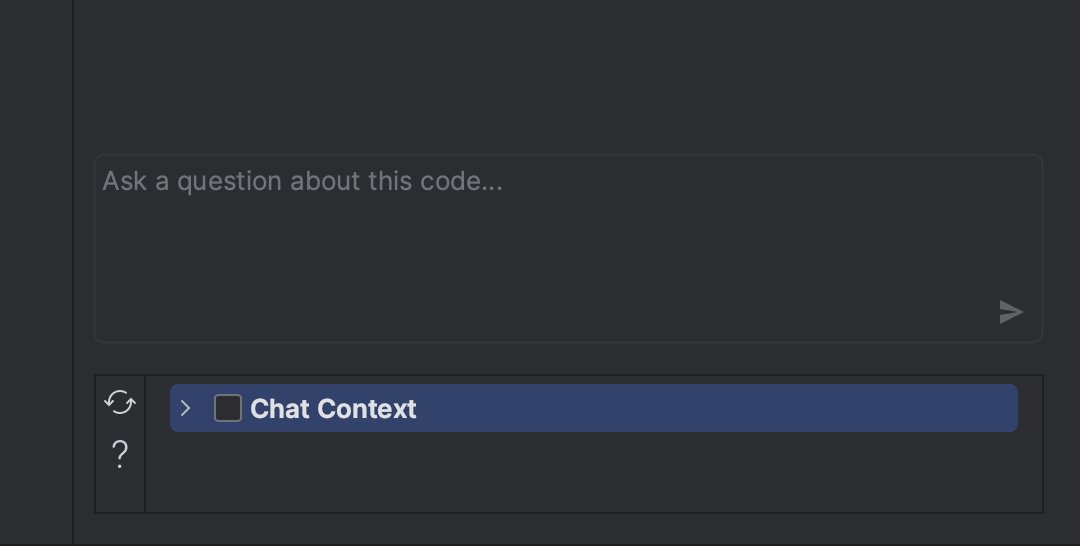
Context Selection
Cody automatically understands your codebase context based on the project opened in your workspace. However, you can override the automatic codebase detection at any point by enabling the Chat Context checkbox. This provides enhanced context selection powered by local search and allows Cody to use the selected codebase to answer your questions.
Updating the extension
JetBrains IntelliJ will typically notify you when updates are available for installed extensions. Follow the prompts to update the Cody extension to the latest version.